Monday, February 4, 2013

Floorboards and more Wood

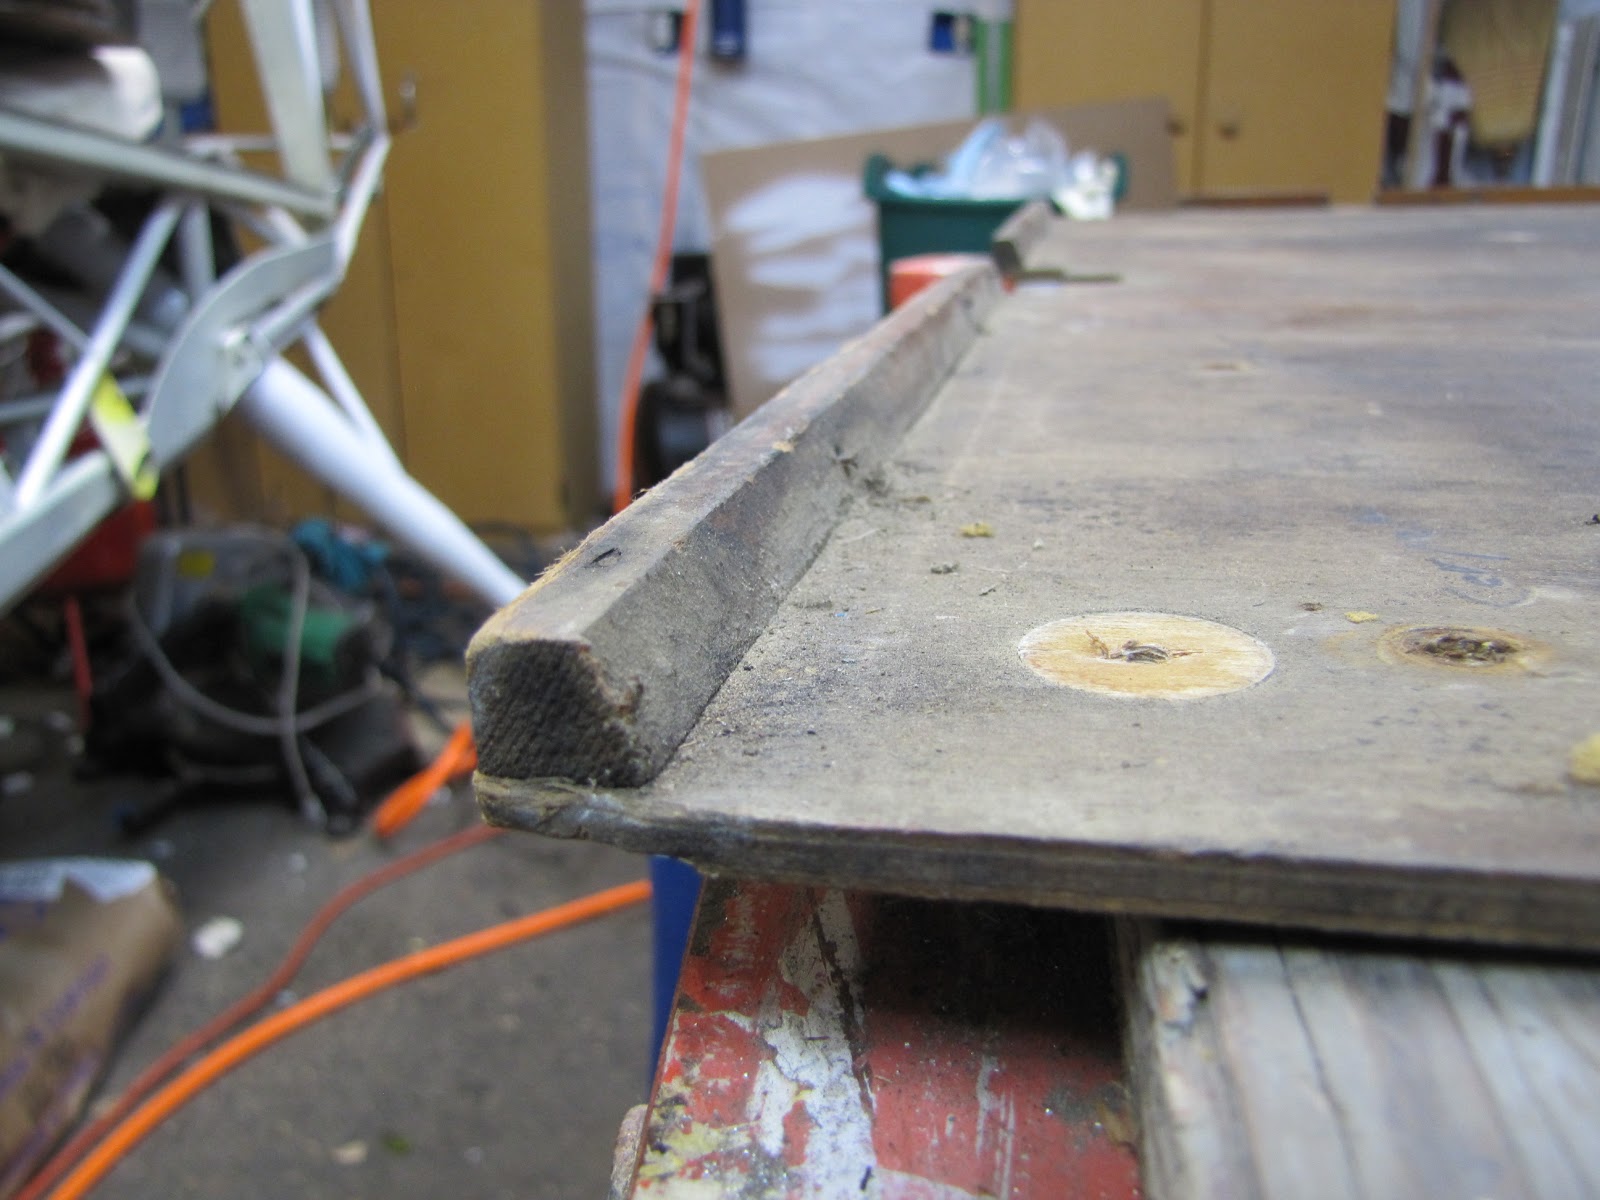
Our floorboards needed replacing so I got some 1/4" aircraft plywood from Wicks, one 4 x 8 sheet of plywood was enough to cut out all the pieces I needed.  The front 2 floorboards especially needed replacing since they have easily breakable pieces.  In addition, I added a dual brake system which had the rudder pedals moved slightly to one side.   I began by taking all the old parts of of the old floorboards and laying them on the new plywood, tracing them, and then cutting them out.


I spent $7 on clear pine for the small pieces on the edges.  To attach these, I used a pneumatic stapler with 5/8" staples and wood glue.  I think this method made the attachment of the pine pieces much stronger than the 3/8" brads I pulled out of the original floorboards.  I then coated the floorboards with satin polyurethane, but found the cold weather even in California was so cold, it took forever to dry so after the floorboards tacked up, I would move them into my attic to dry and the hot air from the furnace in the attic got them dry in a couple days.  The rear floorboard has one pine piece that has an angle which is about 25 degrees which looked right to me after trying several smaller angles.


I even liked it so much, I got the carpet out of the boxes and put it in to see how it looked.


I also decided to replace the wooden wing root pieces that the fresh air vents and the headliner attach to.  The pieces I got with the airplane were so fragile, they were like the books in the books in the future in 1960 version of The Time Machine with Rod Taylor.  They crumbled at the touch and were only held together by the vynil headliner material that was stapled to them.  I got a better sample of this wooden piece from Earl Allen and used that as an original to copy along with a great diagram and dimensions from Gary, badrivermusic, on the Stinson Yahoo group.  I cut these pieces on a band saw from aircraft grade 3/4" spruce.  I glued them using T-88 structural epoxy glue I wanted to try.  I then coated them with laquer.


Lastly, I wanted to install the last instrument in my panel which was supposed to be a digital Astro Tech clock/timer that came with this project.  Unfortunately when I got it out of the box I couldn't get it to work and when I took it apart, I found a 20+ year old AAA battery inside which is probably what contributed to the LCD crystal to bleed out.  Astro Tech was bought out years ago and an inquiry email about repair was not responded to.  I also thought that maybe it wasn't in harmony with the rest of the original (or near original) gauges on the panel, and I read a post about 8-day clocks on the Stinson Yahoo group so I purchased an 8 day clock from Earl Allen and installed it on the panel.  It looks and works terrific and I am very happy with it.


Not shown is that I bead blasted the rear cabin heater vent and the battery box.  I am ready to paint these along with some more parts when I get a warmer day.  I also installed the "C" clips which I painted previously in the floorboard locations so the floorboards are ready to be attached.  Now I am working on getting the scat tubing and hardware for the cabin heat system, and I am finishing up the mounting of the cabin ceiling light and speaker grill along with a new speaker.

Sunday, November 25, 2012

Instruments, paint booth, painting

I got my 2 instruments back from Keystone Instruments in PA.  I sent in my tachometer and the airspeed indicator.  It took them 1.5 years to do them (I did tell them there was no rush).  I think they look great.  Especially the tach which had some peeling cracked numbers on the hour meter.  I left the existing hours on it because they match the last entry in the aircraft logs.  Here's the before and after photos:


Since I now had all my instruments I started putting the gauges in the instrument panel.  

First I looked up the original panel location for each on the internet, then went over to see how they fit.  I had to also fit the control wheels and shafts together--there's definitely a shaft that fits better on each one so I wonder if they're paired?  Kevin had the control shafts re-chromed and the control wheels powder coated.  This was the first time I put them back together.  The shafts still need to have the receiving holes drilled on the universal joint to the control arm.

The black bezel on the oil press gauge (far left) needs to be re-painted.

I had to cut down the flange for the far right ammeter gauge with a hacksaw and cleaned it up (it was round and I made it a square so it fits side by side with the fuel gauge.  It also needs to have the gauge loosened in it's bracket and straightened up (it's kinda crooked).

The Oil temp gauge is also kind of crooked and it needs to be loosened in it's holding bracket and straightened.

The fuel gauge has no bracket on it to hold it in place (pin it against the instrument panel to hold it in place) so I need to find it in the box of parts or fab one from aluminum and install.

Overall, they all now fit well on the panel.  I need to scavenge some more instrument screws from the various extra instruments we have.

I also installed/fitted temporarily, the fuel selector valve (the other red-colored handle on the panel).  I don't know if I have the valve in the right position, so I'll have to take off one of the fuel inlet tubes to visually check it's position before final installation.  The fuel selector valve control rod needs to be primed too before installation.

We also got a digital timer for the center hole.  It is new in the box, so I opened it and read the instructions.  Inside the unit I found a 25 year old AAA battery that powered it.  I need to get an industrial AAA battery before I install the timer/clock.  I think the panel really looks great.  It'll get painted someday when we get the aircraft paint.


I started using the just-completed paint booth.  In order to attach more parts to the frame, I need to use these small "C" clips.  Months ago I cleaned all these from all the rust and old paint in my blasting box.  It took me 6 hours to clean, prep, and paint 79 C clips (found 2 more on the bench I didn't count before) and some assorted parts like the 2 door jamb strikers a support piece I'm not sure where it goes and the long piece on the left is the fuel selector extension from the switch on the panel to the fuel valve on the firewall.

I modified the paint booth with a larger 6" duct and took out my previous plenum that was causing turbulence.  However, it still didn't draw correctly and the outflow felt kind of weak.  I added 3 pieces of cardboard to the entrance to cut down the overspray coming out of the booth at me.  However, I could still seem some overspray coming back at me and afterward found some overspray on my glasses.

I sprayed Polyfiber's epoxy primer which uses a catalyst and thinner to get the right viscosity for spraying.  Using the $9 Harbor Freight HVLP sprayer was new and took some adjustments which I practiced on cardboard.  Had to turn down the flow amount so it didn't run and then it seemed to work good.  Mixed about the right amount of paint for the job as I only had about a 1/4" left in the mixing cup afterward.  I also need to get more thinner from Polyfiber or some MEK as I'm running out.

Went back later that evening and checked it.  The clips looked great and were white and smooth.  Need to wait a week before I can use them on the plane, but very pleased with the results (which nobody will see but us and our inspector).

Here's the paint booth with lights on.  I replaced that 3" exhaust duct with a 6" duct out the wall behind the booth.


All the "C" clips and the fuel selector shaft on the left.


Almost all painted in this photo.  I put on another 2 coats.  So many angles on these small parts!

Next I hope to work on the floorboards and some wood work and actually start using the "C" clips to install these wood parts on the airplane.

Saturday, November 10, 2012

Front seats

It's been too long since my last post.  I got laid off work at the end of the summer which kind of dampens the mood to work on something fun.  Besides, I spend most of my time looking for a new job and catching up on other projects that need completion.

From an earlier post I used my blasting box and bead blaster to clean up the front seat frames and found some of the straps were broken or cracked.  I knew I needed to get these seat frames completed because they were starting to get surface rust.  I got some 1" wide, .025 thick 4130 chromoly steel from Aircraft Spruce and found a local metal shop who could do some spot welding.  They only had the project for a day and called me back the next day to say they were finished.  They had a lot of fun doing the project. They spot welded the straps doubled up on the existing straps and Tig welded the ends of the straps which I had them wrap around the frame.


I used Rustoleum primer and paint to coat them.  I didn't think I needed to apply aircraft paint since 95% of these seat frames would be hidden inside the seat cushions.  I also painted the front seat frame rear legs (the front part of the seats rest on the frame over the oleo strut cover where the landing gear shock absorbers are).  Here's some of the photos of the painting:


I think these turned out very nicely.  Shame to cover them.  This new welding will last another 60 years or so and hold our large Ganschow frames (over 6 feet and some of us pushing 250 lbs).


I got new hardware for the seats.  One of the old seats was held together at the seat back hinge area with a 6 penny nail!  I got new clevis pins and used cowling safety pins to hold the clevis pins the same as what I removed.  I searched online and in the Stinson parts manual for the correct type of hardware, but there was no reference to be found so I used new AN hardware to install the seats in the plane for the first time since it was dis-assembled over 32 years ago.


Cabin width at the shoulders is 36.5" so it'll be cozy inside with the doors on.

I had to put the old seat cushions on and sit in it to see how far my head is from where the headliner would be.  I'm looking at a couple of aircraft foam suppliers including one called Hi-Tech Foams from Wisconsin I think.  The foam seats are about 3" thick and will compress about half when sat on (maybe more when I sit in the seat).  Actually, the old seat cushions and the new seats felt fairly comfortable.  I was thinking about adding lumbar support and some thigh support into the seat cushion design, but maybe I'll keep the original seat cushion shapes like in the photo below.  Note that the original seat fabric in blue is on the seatback and the black is a seat cover that was installed over the worn out seat fabric.

Sitting in the airplane for the first time without a floorboard but with my feet on the rudder pedals was a real thrill.  I didn't make any engine noises and didn't have the yoke installed, but I could imagine looking outside at the landscapes we will someday fly over.  It seemed kind of bare with just the frame around me, so I installed a restored panel I purchased from John Baker that you can see on his Hangar9 website.  I got some stainless steel 8-32 screws and lock nuts with my seat hardware order to install the instrument panel.  NOW it felt like an airplane even with the blank instrument holes staring at me.  I wanted to see how my legs would clear the custom-made breaker sub panel on the bottom of the panel John Baker made.  I had no problem working the pedals or with my feet flat on the floor.


Did I mention that John Baker's panel also included all the wiring harnesses?  It won't take long for us to sort them out and hook them up.  I should soon get my rebuilt tach and airspeed instruments back from Keystone Instruments which I sent in to them in April 2011.

Next up is to build a small paint booth complete with lighting and fan exhaust for small parts I need to paint for parts I have ready to install.  Mostly I need to recover the Stinson "J" clips that I bead blasted in the spring.  Need to paint them before they rust up again.  Thanks for sticking with the blog and hope to add more updates soon.

Tailwinds,

Don G.

Sunday, June 17, 2012

More blasting and a door dis-assembly

I've been working steadily on the airplane.  I got the co-pilot seat all bead blasted and cleaned and found a couple of the straps are broken on that.  I sourced some 4130 steel strapping here, but it's too thick and more expensive than the aircraft supply house Aircraft Spruce so I'll order that plus some Aluma-prep and Alodine to pre-treat all the cleaned aluminum parts I have stripped before painting.  Kevin and I went to the Golden West Fly-in a couple of weeks ago in Marysville, CA because we've never been and wanted to attend some workshops there and see some planes.  The wind was blowing stronger than 20 knots so the turnout was low.  We didn't see any stinsons, but a nice 1956 Piper than had a similar paint scheme we plan on using.  The owner did the restoration in one year!  I am amazed at the great job he did.  I think we'll do just as well but it won't be that fast.

Here's a cabin ceiling light and speaker grill, exactly as we will have in N97917.  This even has the exact same color headliner we have too.

Here's the Piper we saw (closest thing to a Stinson there).


I'm still in parts-cleaning mode.  I was always intrigued by what was behind the old black vinyl-covered door panels so I continued to strip and dis-assemble the co-pilot's door I started removing the paint in the previous blog entry. I found out that there are 2 door window designs on Stinson 108s--square corner window frames and round corner window frames.  Ours has square corner window frames which I believe are from the earlier versions (N97917 was assembled in late 1946).  I found the window frame channels to be screwed and glued in which I dis-assembled and scraped the gunk off.

Here's the clean door exterior side.

Door interior stripped down after soda blasting (except the section which will be behind the interior paneling.

I can re-use all the channels and window trim except for the bottom guide.  Here they are laid out as they were taken off the window (bottom of photo is bottom of window frame, left side is forward edge of the window.  Stinson 108-1 had cool sliding windows on the doors so you can easily open the window to take a photo or let in the breeze, or just park your elbow on the sill on a nice sunny day of flying.   I bead blasted these parts and sanded and cleaned them up.


After cleaning, I discovered it had rust holes on the bottom channel only so I will have to source a new channel somewhere.

I bead blasted other parts of the door latch hardware as laid out here and explored polishing the aluminum door handles with some buffing disks and rouge (sp?).  The partially buffed interior handle really cleaned up great and looks like chrome.  I will have to finish the buffing process and then work on the cool stream-lined exterior door handle.  I found a mysterious thin wood piece that was broken in 2 as seen in the photo below on the right.  It has a hole drilled in the middle and has a step/ledge halfway through the hole.  It is unclear where this piece came from, but it fell out when I removed the old fiberglass insulation that was in the door.  I'll be curious to see if there is a similar piece in the pilot's door when I get to it.

I purchased 2 new polycarbonate windows for the co-pilot's side door window.  I thought about purchasing from a known aircraft window supplier, but found a local plastic's shop (Tap Plastics) had the same thing at the same price so I just saved the shipping costs.  The forward window slides back, but when it is forward, there is a small spring-loaded pin in the door frame that locks into a notch on cut on the bottom of the sliding window so someone can't easily get into the locked airplane.  I'll leave the protective plastic on until it's time to re-assemble the window (after painting).

New window laying on top of old window (still in one piece, but cracked from age)

Matching notches for window lock pin.

The window lock pin and handle.

To date, I've been using glass bead to clean all my parts (steel and aluminum). However, I was trying to clean the interior door post aluminum trim pieces that cover the fuel lines and electrical leading to the panel and firewall, but discovered that the glass bead did not easily remove the blue paint AND seamed to warp the aluminum (from heat).  I researched other blasting media and read that soda blasting is gentler on aluminum so I purchased a 50 lb bag from Harbor Freight for $35 to try it on the co-pilot door (too big to fit in my blasting box anyway).  Setting it up outside my shop on some sawhorses I found it did a pretty good job on the door (all the photos in this post are taken AFTER the soda blasting).  I still need to clean up some areas for a perfectly clean surface as you can see in the photos.


 I  had plenty of soda so I proceeded to clean the rudder too.  The dark designs on the rudder proved to be very thick paint which I had to rough up more by hand together with more soda blasting effort.  The soda blasting removes the old paint very well around the rivets and in the grooves in the rudder which would be a bear to sand by hand.

Overall, soda blasting worked well for large parts, but I had to wait for my 20 gallon compressor tank to refill sometimes to keep up the pressure I needed.  I got about 1/4 the way on the back side of the rudder so I will complete that another time.  Looking forward, I either need to soda blast the aluminum flaps, cowl, lower cowling, nose bowl, and wing struts and covers, and landing gear fairings, or sand and clean by hand or use a chemical remover.